In an era where our digital lives are more connected than ever, ensuring online privacy and security has become a paramount concern. Virtual Private Networks, or VPNs, have emerged as a powerful tool to safeguard your online activities. With a VPN, you can encrypt your internet connection and route your traffic through a secure server, protecting your data from prying eyes. In this guide, we will explore the essentials of setting up a VPN, so you can surf the web with confidence.
What is a VPN?
Before we dive into the setup process, let’s understand what a VPN is and why it’s essential. A VPN is a technology that creates a secure and encrypted connection over the internet. It acts as an intermediary between your device and the websites or services you access. Here are some of the key benefits of using a VPN:
- Online Privacy: VPNs hide your IP address, making it challenging for websites and third parties to track your online activities.
- Data Encryption: VPNs encrypt your internet traffic, preventing hackers or eavesdroppers from intercepting sensitive information like passwords or credit card details.
- Access to Geo-Restricted Content: VPNs can mask your location, allowing you to access region-restricted content or bypass censorship.
- Security on Public Wi-Fi: When you connect to a public Wi-Fi network, your data can be vulnerable to attacks. A VPN adds an extra layer of security.
Now that you understand why a VPN is essential, let’s go through the process of setting one up.
Step 1: Choose a VPN Service
The first step in setting up a VPN is selecting a reliable VPN service provider. There are many options available, and it’s crucial to choose one that suits your needs. Here are some factors to consider when making your decision:
- Security: Look for a VPN that offers strong encryption protocols and doesn’t keep logs of your online activities.
- Speed: A good VPN should not significantly slow down your internet connection. Some premium services offer faster speeds.
- Server Locations: Check if the VPN provider has servers in the locations you need for specific tasks, like unblocking geo-restricted content.
- User-Friendly Apps: Choose a provider with user-friendly apps for various devices and operating systems.
- Price: VPN services can vary in cost, so consider your budget and compare the features offered by different providers.
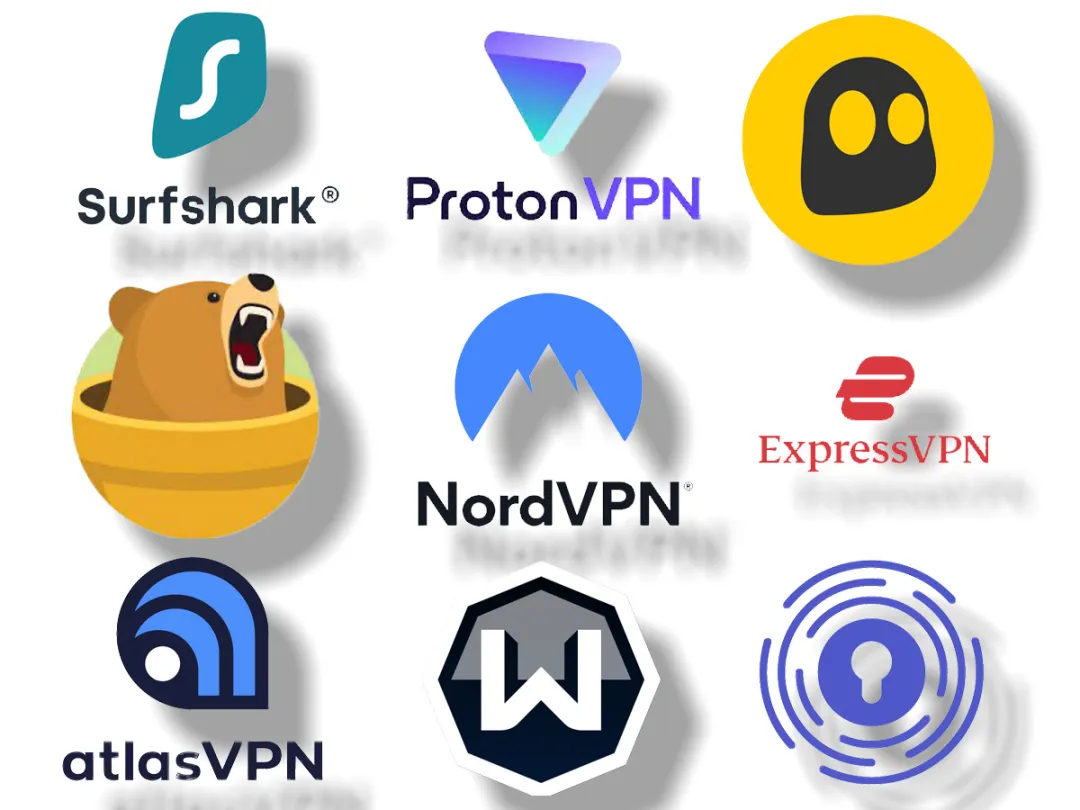
Some popular VPN services include ExpressVPN, NordVPN, CyberGhost, and Surfshark. Make sure to read reviews and check for any ongoing promotions or discounts.
Step 2: Sign Up and Subscribe
Once you’ve chosen a VPN provider, you’ll need to sign up and subscribe to their service. This usually involves providing your email address, creating a password, and selecting a subscription plan. Many VPN providers offer different plans, such as monthly, yearly, or even multi-year options. Choose the plan that works best for you, and complete the payment process.
Step 3: Download and Install the VPN App
After subscribing to a VPN service, you’ll need to download and install the VPN app on your device. VPN providers typically offer apps for a wide range of platforms, including:
- Windows
- macOS
- Android
- iOS
- Linux
- Router
- Smart TVs and streaming devices
Download the appropriate app for your device, and follow the installation instructions provided by the VPN service. It’s a straightforward process and usually involves clicking “Install” and then following a series of on-screen prompts.
Step 4: Launch the VPN App and Log In
Once the app is installed, launch it and log in with the credentials you created when signing up for the VPN service. You may also be required to enter a unique activation code provided by the VPN provider. After successful login, you’ll be presented with the VPN app’s main interface.
Step 5: Connect to a VPN Server
Now, it’s time to connect to a VPN server. VPN services usually offer a list of servers located in different countries and cities. To connect to a server:
- Open the VPN app.
- Browse through the list of available servers.
- Select the server you want to connect to.
Depending on your VPN provider, you may also have the option to choose a server optimized for specific tasks, like streaming or gaming.
Step 6: Confirm Your Connection
Once you’ve selected a server, click the “Connect” button. The VPN app will establish a secure connection to the server you chose. When the connection is successful, you’ll see a notification confirming that you are now connected to the VPN.
Step 7: Check Your IP Address
To verify that your VPN connection is working, you can check your IP address. There are various websites and online tools that can display your current IP address. Before connecting to the VPN, note down your original IP address. After connecting to the VPN, revisit one of these websites to see if your IP address has changed. If it has, your VPN is working correctly.
Step 8: Customize Settings (Optional)
Most VPN apps offer customizable settings that allow you to tailor your VPN experience to your needs. Here are some common settings you might find:
- Kill Switch: This feature can be enabled to instantly disconnect your internet connection if the VPN connection drops. It prevents your data from being exposed without protection.
- Split Tunneling: Some VPNs offer split tunneling, allowing you to route only specific applications or traffic through the VPN while leaving the rest to your regular internet connection.
- Protocol Selection: You can choose between different VPN protocols, such as OpenVPN, L2TP, or IKEv2, depending on your security and speed preferences.
Step 9: Disconnect and Reconnect as Needed
You can disconnect from the VPN server at any time by returning to the VPN app and clicking “Disconnect.” When you’re done with your secure browsing or want to switch to another server, simply disconnect and select a new server or connect again.
Step 10: Enjoy Safe and Private Browsing
With your VPN set up and connected, you can now enjoy secure and private browsing. Your data is encrypted, your IP address is hidden, and you can access content from around the world without restrictions.
Additional Tips and Considerations
- Regularly Update Your VPN App: VPN providers release updates to improve security and performance, so make sure to keep your VPN app up to date.
- Use Multi-Device Support: Many VPN services allow you to connect multiple devices simultaneously under one subscription, so take advantage of this feature to protect all your devices.
- Choose the Right Server: When accessing geo-restricted content or streaming services, select a server located in the region where you want to appear. This will make it appear as if you’re browsing from that location.
- Test Your VPN: Ensure your VPN is working correctly by occasionally checking your IP address or using online tools to confirm that you’re connected to the VPN server.
In conclusion, setting up a VPN is a simple yet powerful way to enhance your online privacy and security. It’s an essential tool for anyone who values their data and wants to browse the internet with confidence. With the right VPN service and these steps, you can enjoy a safe and private online experience, no matter where you are.